
How to install WordPress on CyberPanel
- WordPress Tutorials
- Updated on

Based on the web host, management control panel, there are several ways to install WordPress on a host. The installation method varies greatly depending on each control panel. There are also several control panels on the market, especially open-source control panels. One of these free control panels is Cyber Panel, which is being developed with the LiteSpeed team. So in this article, we will discuss how to install WordPress on CyberPanel.
Install WordPress on CyberPanel
First, let’s get acquainted with the cyber panel control panel and see what advantages this system has over the CPanel?
What is CyberPanel
As you know, control panels are just like the operating system that we install on our computer to manage the work processes of the system better. After using the control panel, we use the hosts to do things more efficiently and with more restrictions for different user roles. There are many control panels on the market; the most popular control panels are CPanel and DirectAdmin. We have already taught you how to install WordPress on CPanel and install WordPress in Direct Admin. But now we are going to move to newer and more up-to-date control panels.
Cyber Panel is one of the open-source control panels you can use for free on your Linux server. By installing this control panel and using OpenLiteSpeed, you can set up your website on a computer or Linux server at no cost. All you need is regular power and high-speed internet.
So if your host uses the Cyber Panel control panel, you should know that your host is using the OpenLiteSpeed web server (the free and open-source version of LightSpeed).
Suppose you want to install your website hosting control panel yourself and have doubts about CPanel and cyber-panel. In that case, you should examine these two more closely or ask the opinion of people who have been specializing in WordPress and web hosting for many years. We asked this question to Reza Hoseini Rad, the webmaster of Mihan WordPress:
Undoubtedly, if we want to manage and host the Mihan WordPress website with a control panel right now. Our choice between the two options CPanel and CyberPanel is the second option.
Reza Hoseini Rad – CEO of Mihan WordPress
Log in to CyberPanel to start installing WordPress
After installing CyberPanel on your Linux server, you must use yourwebsite.com:8090 to log in to the admin panel. You will encounter such a page:

Enter your username and password to enter the host management panel. Get the username and password from the server administrator who installed this control panel or the hosting where you purchased your hosting account.
Install WordPress on Cyber Panel
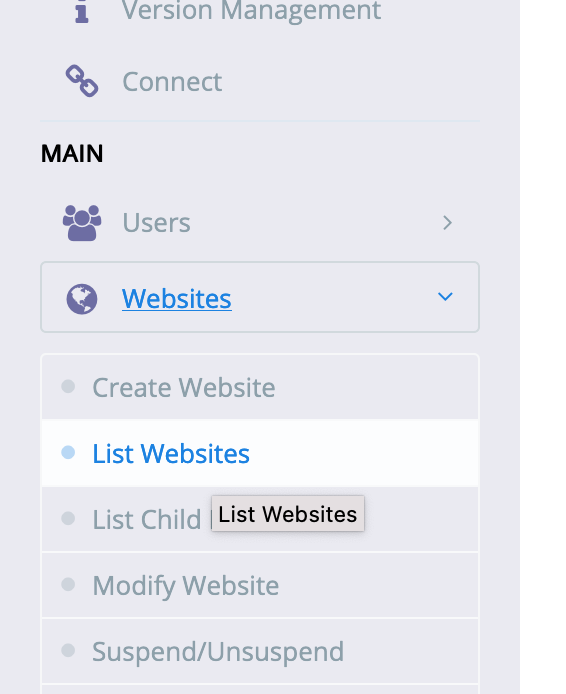
Now go to Websites> List WebSites to see your list of domains.
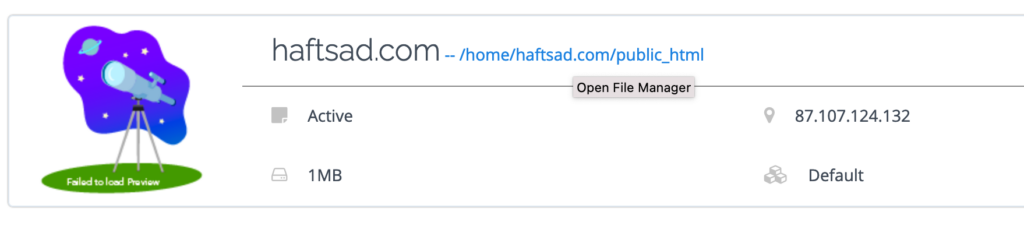
Click the path in front of your desired domain to enter your website’s file manager.
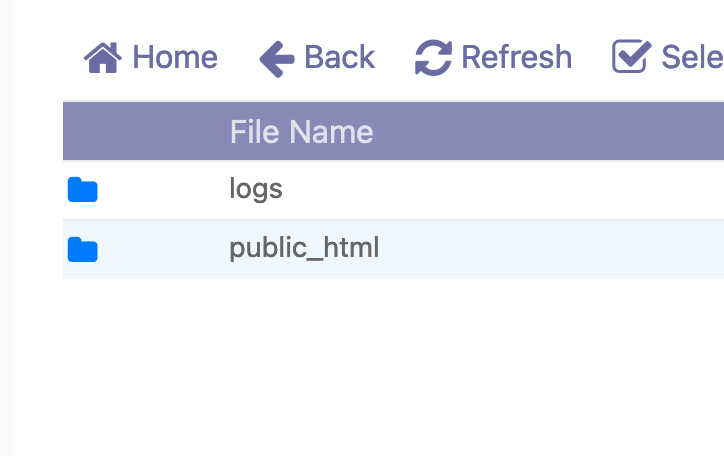
Now go directly to public_html so you can upload WordPress there. Double-click on public_html to enter the main folder of your website.
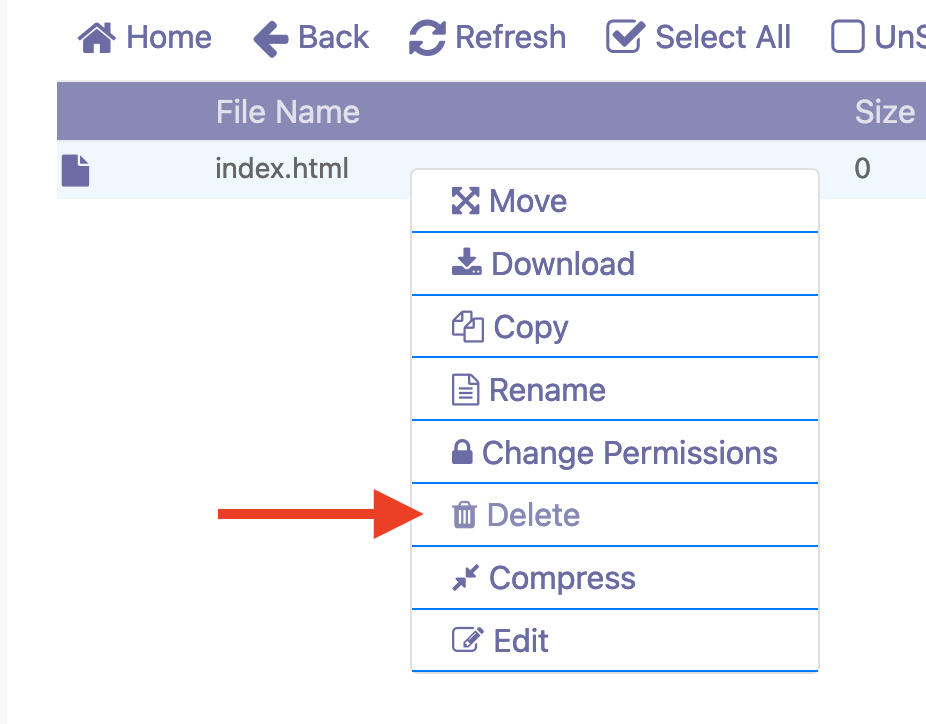
Right-click on the index.html file and select delete. In this case, the index.html file will be deleted not to disturb the work’s continuation. If you do not have specific information on the host, delete all other files, if any.
And click on Upload at the top of the page to upload the files you want.
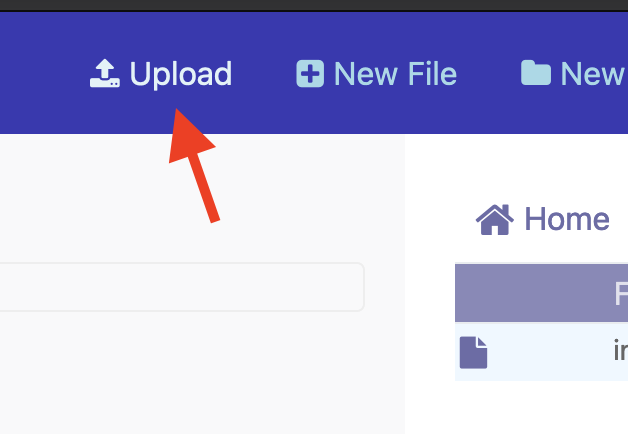
Now you can download the WordPress file and upload it here. Select the file and click Upload All to upload the file to your host.
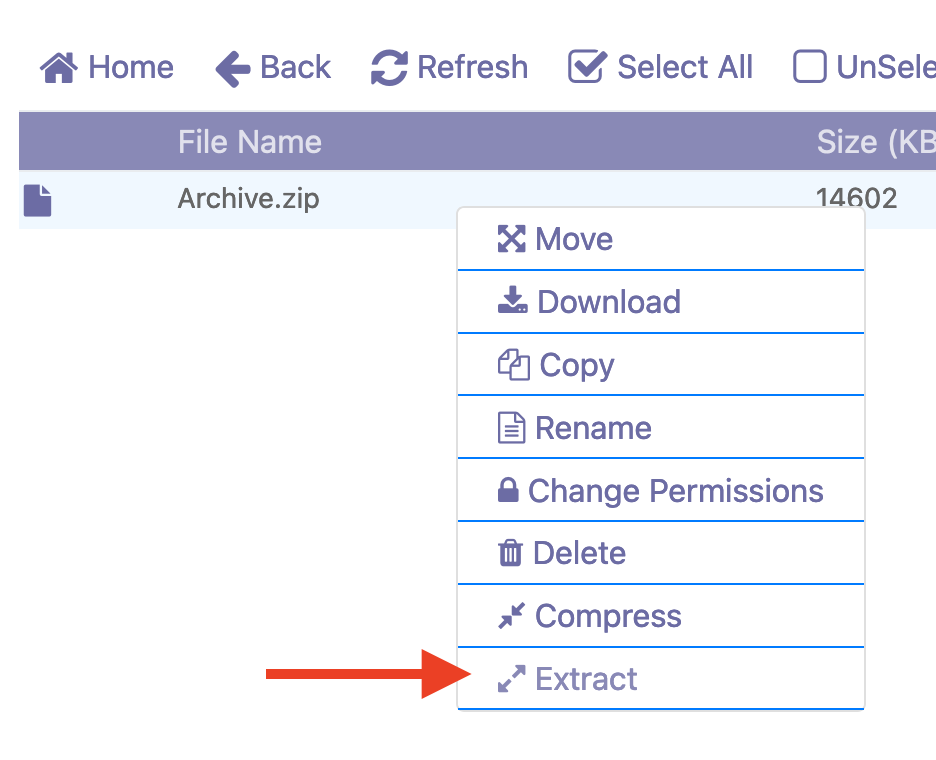
After uploading the file, you will refresh the page and see the zip file—Right-click on the file and select Extract.
Now enter the WordPress folder and move the files in this folder to the previous folder, public_html.
Congratulations! WordPress successfully uploaded to your host.
Build a database to connect to WordPress
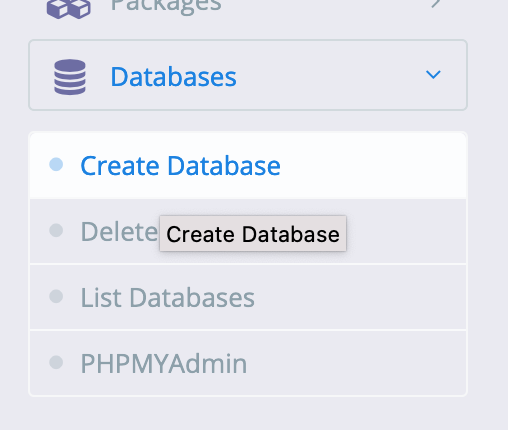
Be sure to note that you need a database to install WordPress; To do this, you must click on the Create Database option in the Databases section.
Select your domain and then complete the database build form. Note that if you set the database name to wp and your username is mihanwp, for example, your database name will be mihanwp_wp.
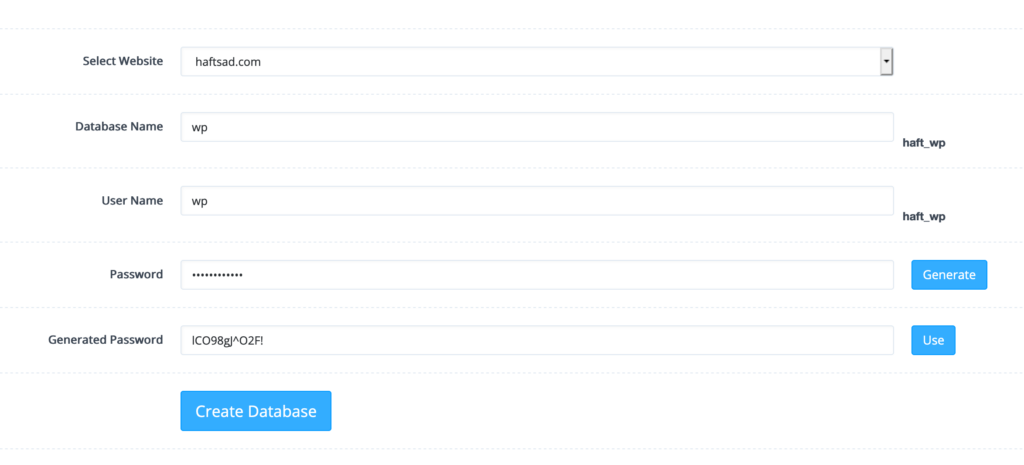
Copy or keep in mind the password you choose for the database.
Start installing WordPress on CyberPanel
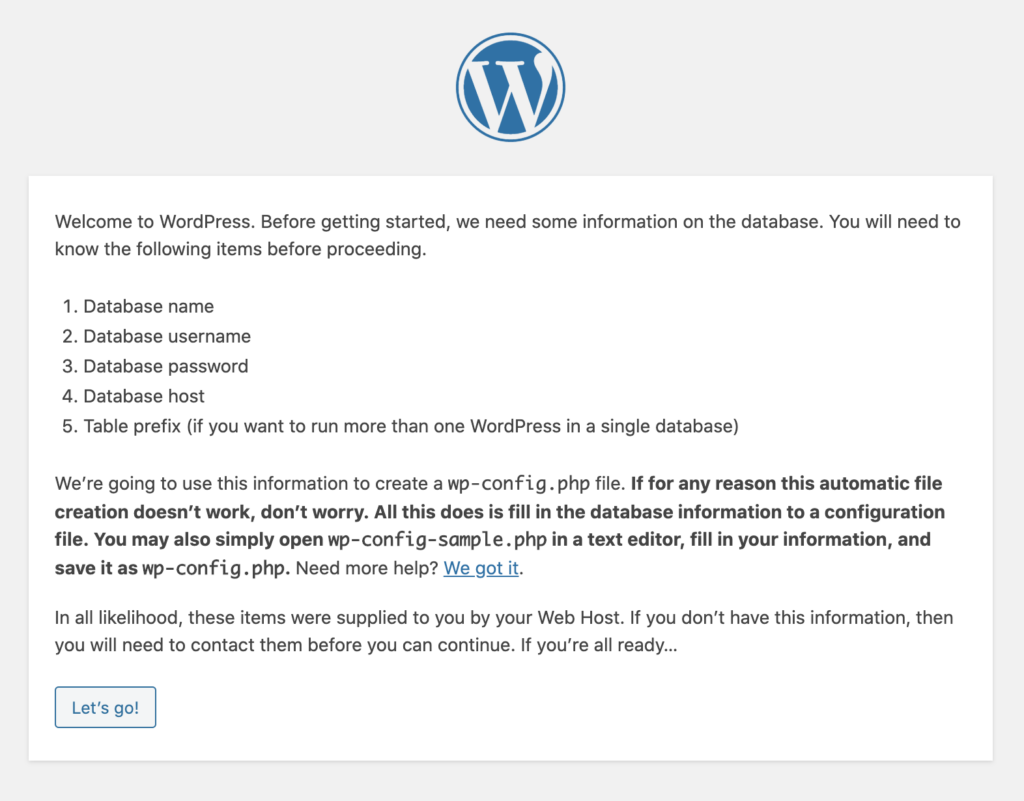
If all goes well, you will be taken to the WordPress installation page by entering your website URL. In this step, we need to install WordPress.
First, select the language you want, if necessary. Then, click on Let’s go.
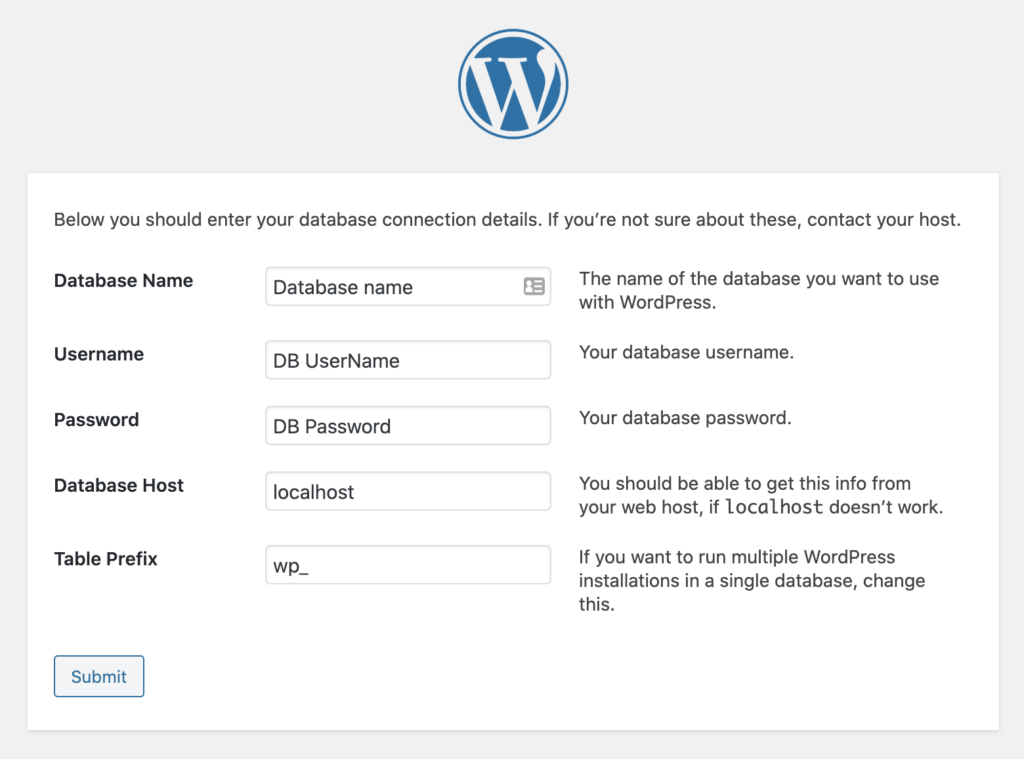
On this page, we are asked for database information, and we have to enter the data.
- Database name: Your database name, for example: mihanwp_wp
- Username: The username of your database. For example: mihanwp_wp
- Password: Your database password
Suppose the above information did not work. It would help if you asked your server administrator to create a database for you through CyberPanel.
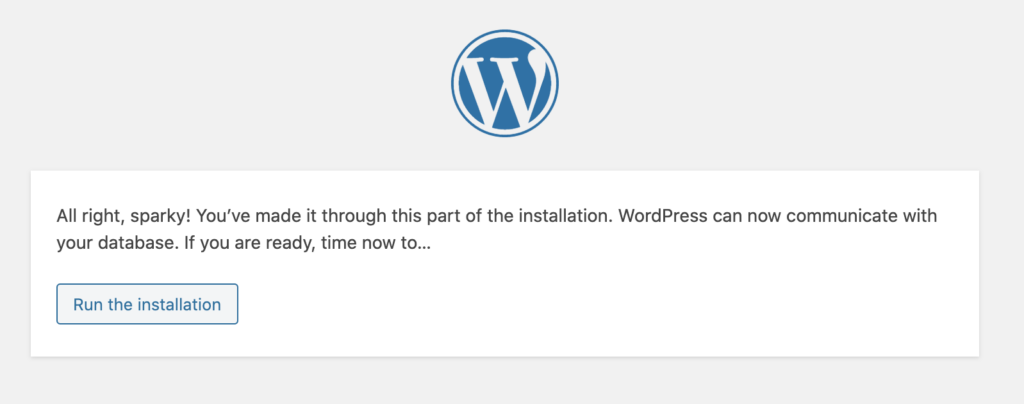
In the last step, you have to click on install.
In this step, we enter the site information and WordPress management information.
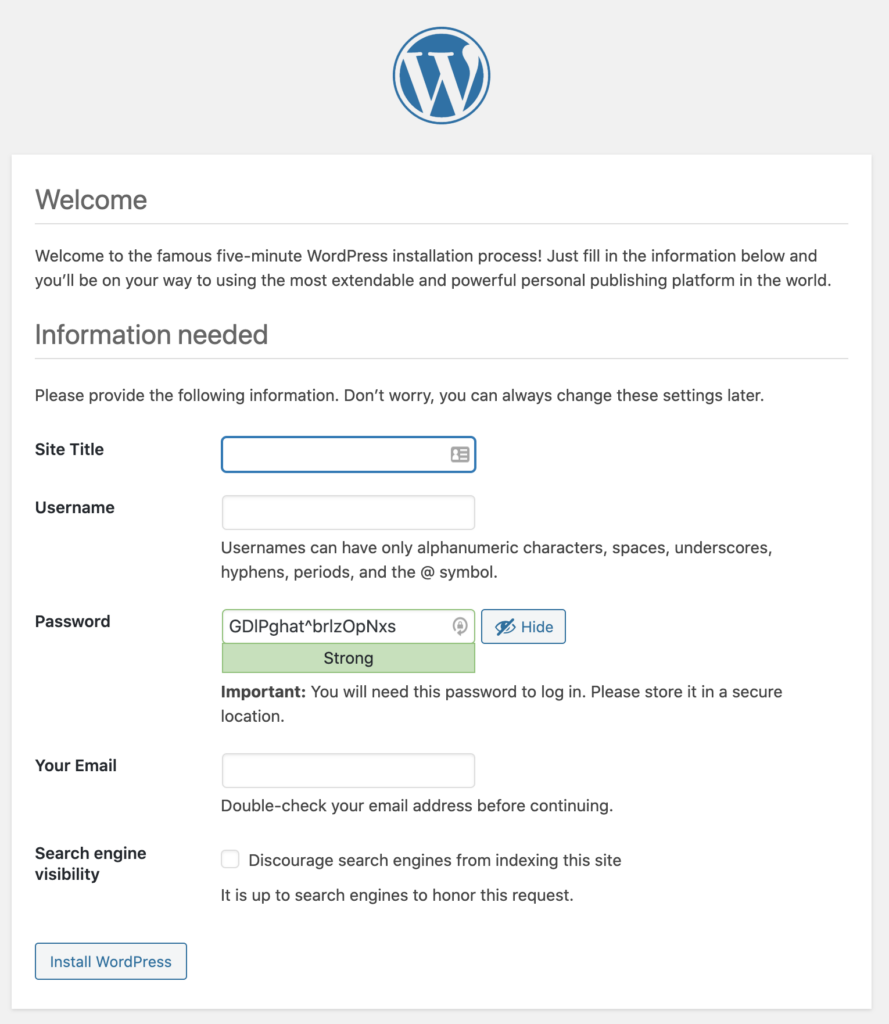
The WordPress installation on CyberPanel is complete, and you have launched your first WordPress website on Cyber Panel.
Congratulations. 🙂
Please login to send your comment.